Multi-factor authentication (MFA) requires users to sign-in using more than one verification method (i.e. a prompt from your cell phone), which helps keep you and Region 10 safe by preventing cyber-criminals from gaining access to personal, restricted and confidential information.
Multi-Factor Authentication (MFA)

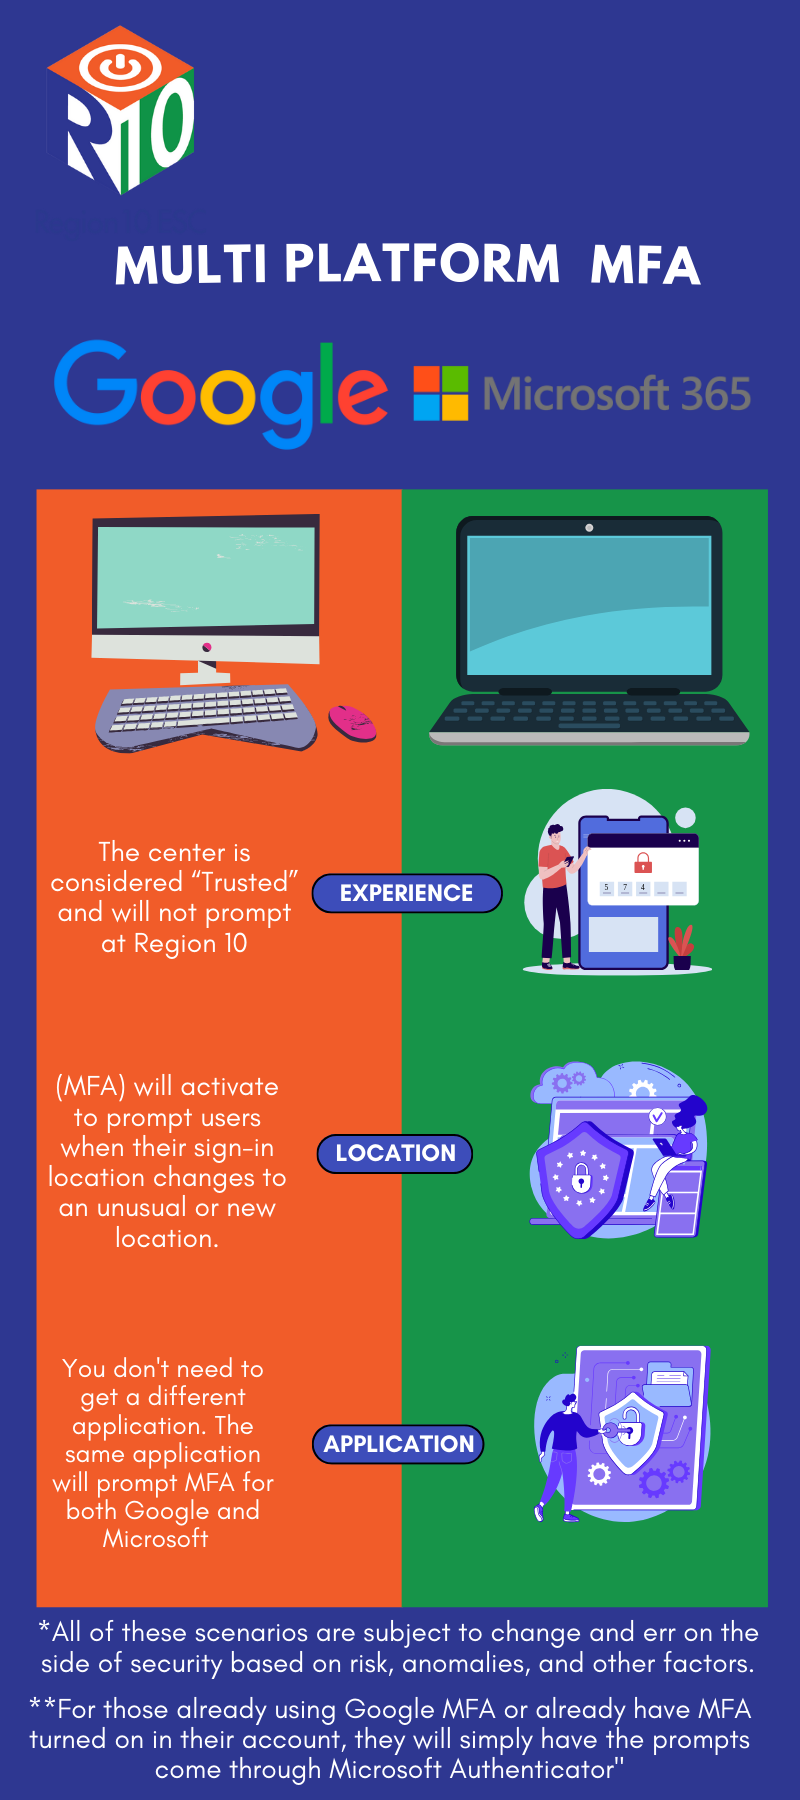
*NOTE: MFA will prompt you when logging into to MS Office, TEAMs, One-Drive and MS Outlook when NOT on R10 Wi-Fi or network or if the system detects anomalous behavior.
In your browser you may see a prompt where you can 'delay' the security prompt for 14 days so you're not verifying every time you login.
Step-by-step information on how to setup Multi-Factor Authentication
When you sign in to Office, you'll see the 'More information required' prompt. Choose Next.
Under Step 1, choose 'Mobile app' from the Authentication phone drop-down list.
Under 'How do you want to use the mobile app?', select the method you want to use to sign in:
Select 'Receive notifications for verification' to authenticate directly from your mobile app, which may include fingerprint authentication.
Select 'Use verification code' to enter a new verification code each time you authenticate.
Choose 'Set up'.
Leave the 'Configure mobile app' window open on your computer.
On your mobile device, go to the app store, search for "Microsoft Authenticator," select it, install it, and open it.
In Authenticator, follow the prompts to complete the wizard, and then choose the plus (+) sign to add your account.
Choose 'Work or school account', choose 'Allow' when prompted for permission to take pictures and record video, and then follow the instructions to scan the QR code in the open window on your computer.
After the account has been added, choose 'Got It '.
On your computer, choose Next, and then choose Next again.
Make a note of the code that appears on your mobile device, enter the code on your computer in the box under Step 2, and then choose Verify.
In the boxes under Step 3, enter a backup phone number, such as your office number, choose Next, and then choose Done.